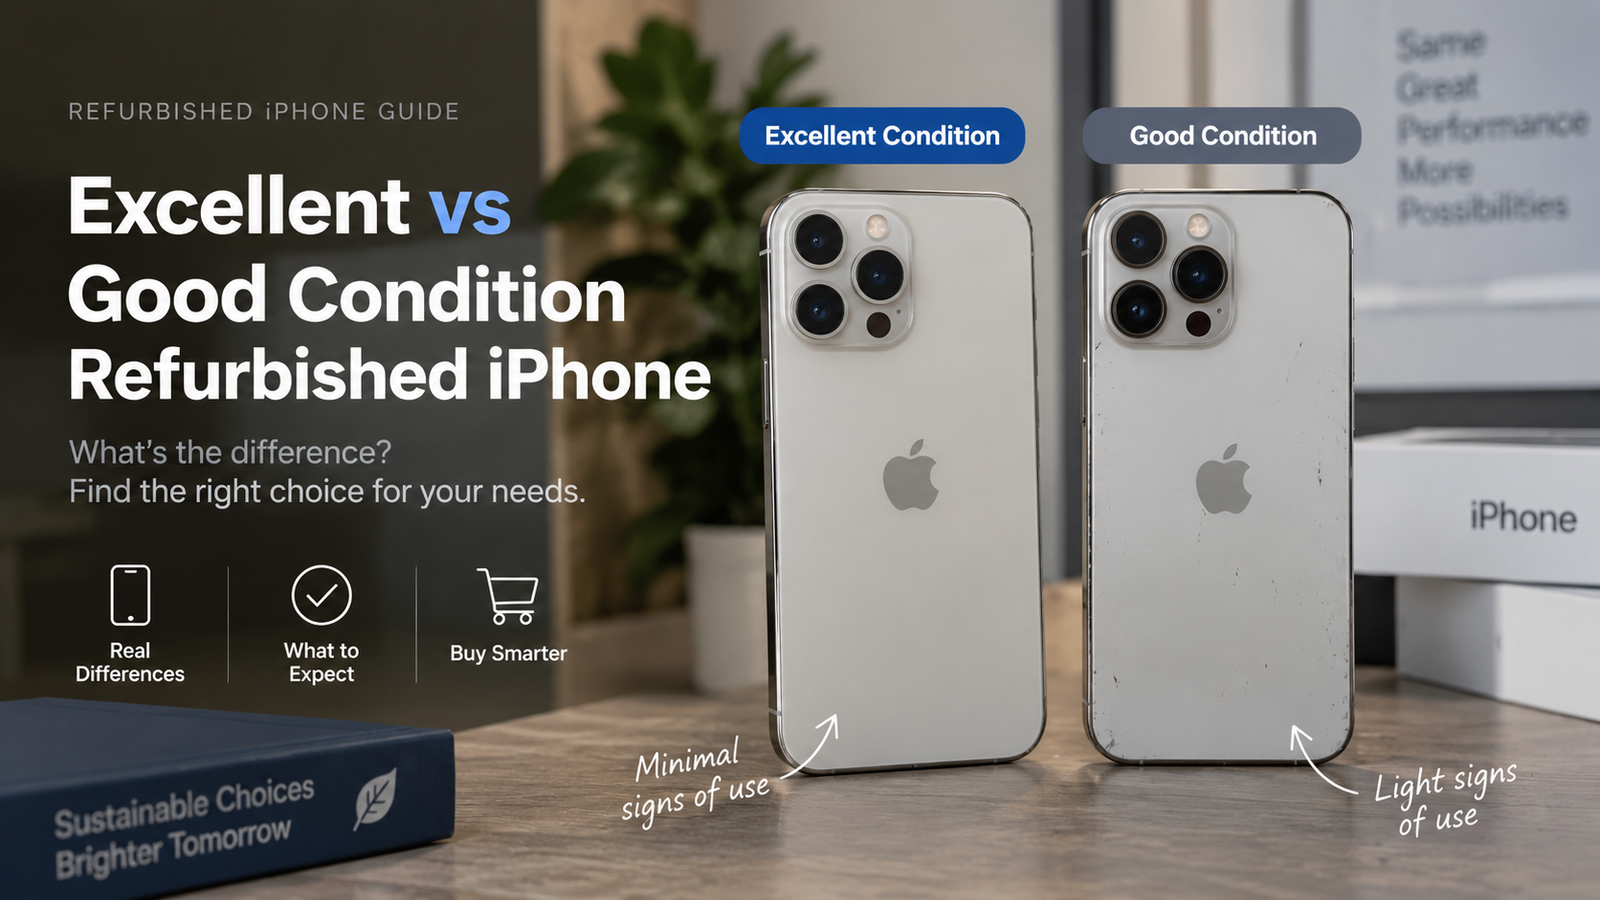
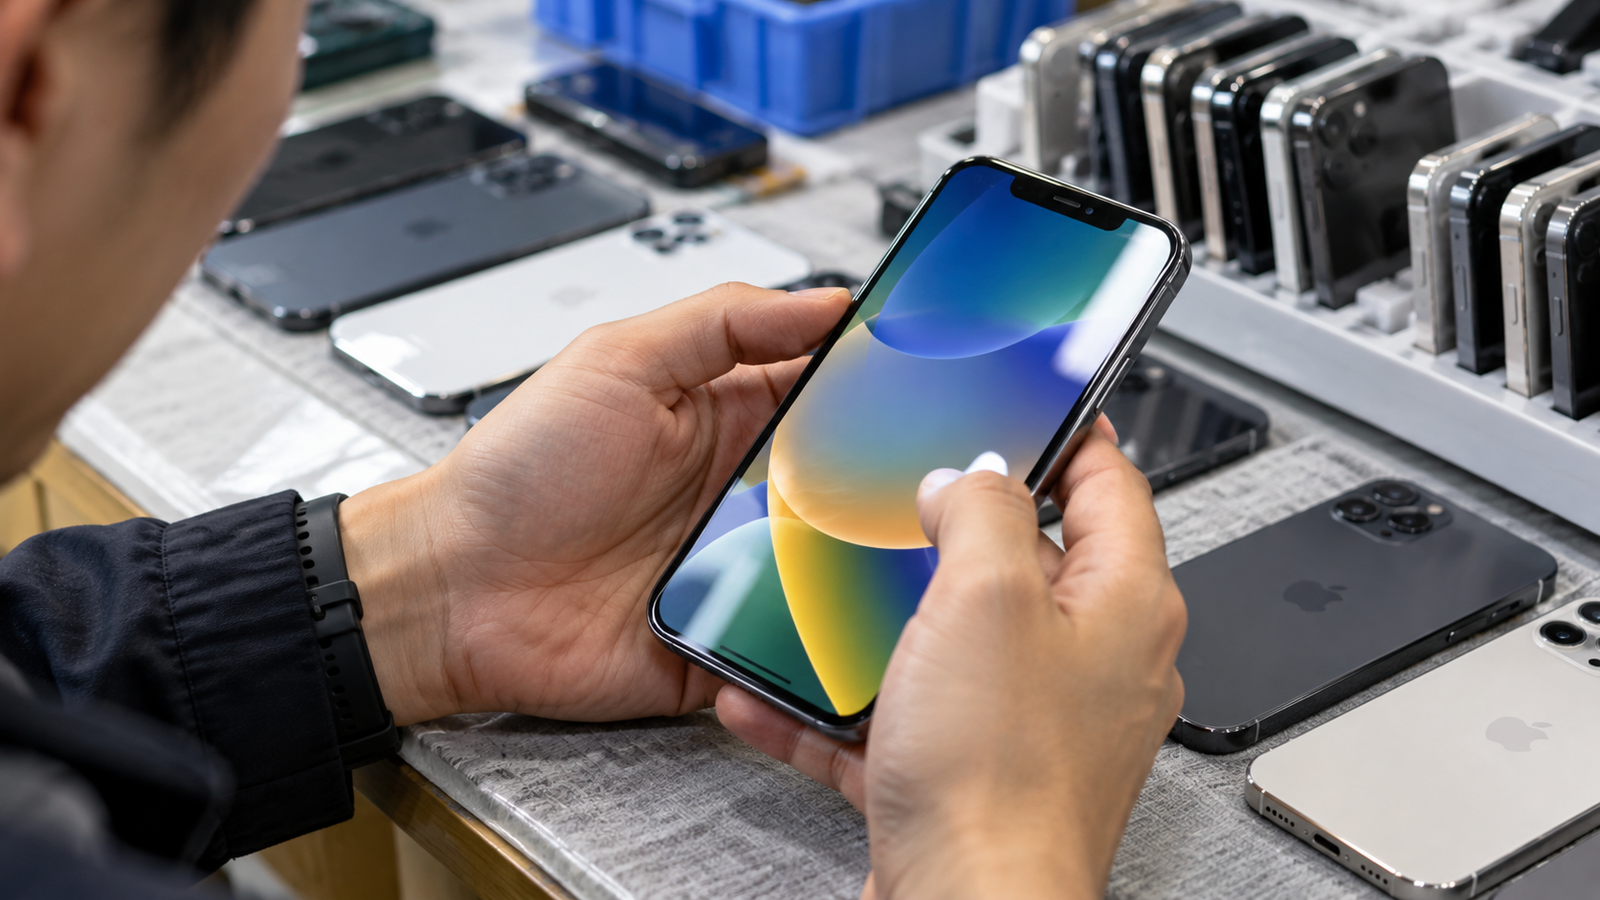
Prepare the Device for Inspection
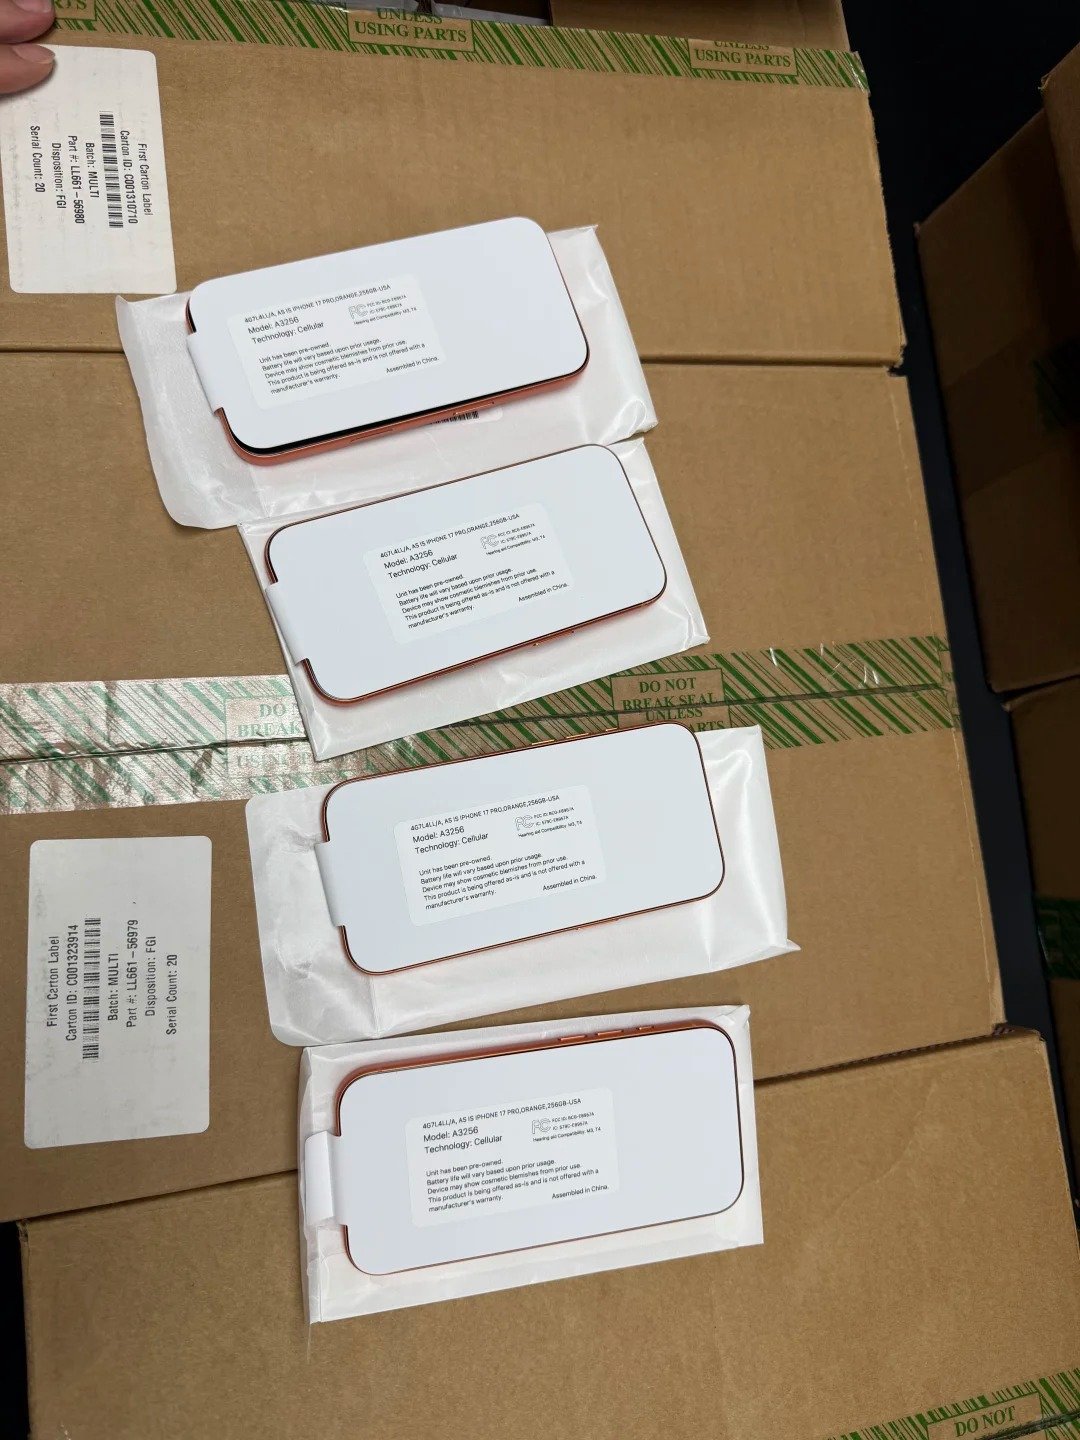
Screen inspection should begin with a clean, powered-on device and a consistent internal process. Use non-invasive preparation only. Do not introduce chemical, disassembly or repair steps into a receiving inspection.
Preparation process
- Match the device to its inventory record.
- Confirm the exact model and power-on status.
- Remove temporary visual obstructions such as removable packaging if authorized.
- Use clean, controlled lighting.
- Set up the inspection record before testing.
- Record visible observations before making grade decisions.
| Preparation Step | Why It Helps | QC Record |
|---|---|---|
| Device Identifier Match | Links evidence to the correct unit | IMEI or serial match |
| Model Confirmation | Sets relevant functions | Exact model |
| Power-On Check | Allows display and touch testing | Power status |
| Surface Visibility | Prevents packaging hiding damage | Inspection-ready status |
| Controlled Lighting | Makes marks easier to compare | Inspection condition |
| Display Brightness Review | Tests more than one output level | Observed result |
| Inspection Photo or Evidence Reference | Supports internal review | Reference where permitted |
| Inspector and Date | Creates traceability | Name or ID and date |
Inspect the Glass Surface
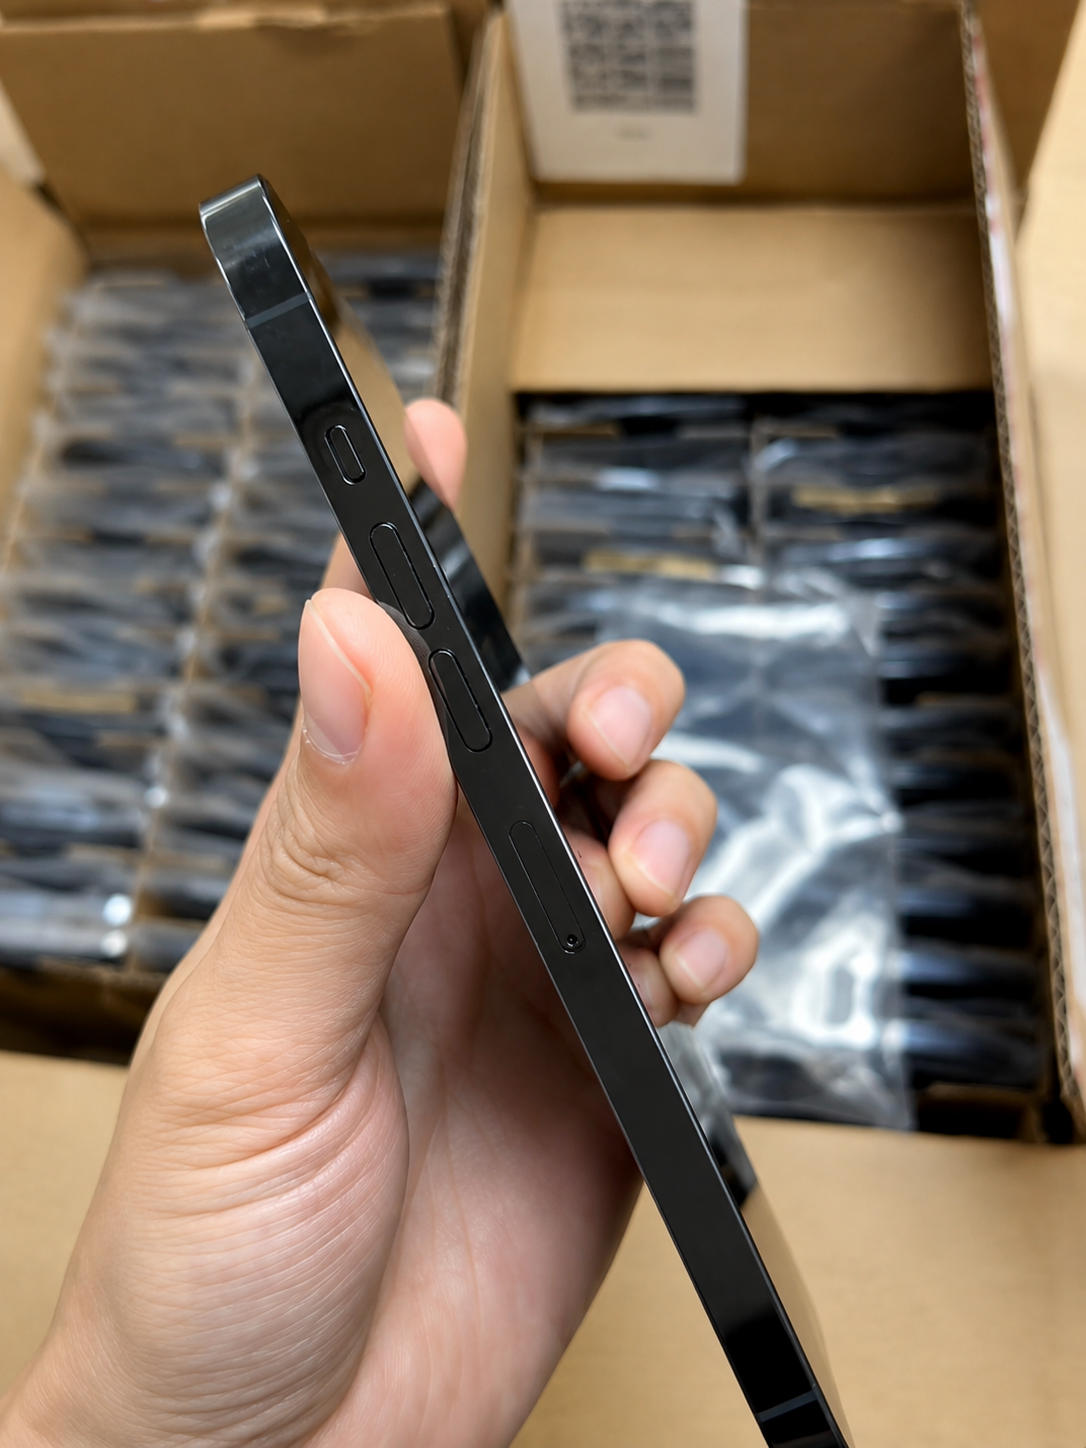
Surface inspection should identify cracks, chips, scratches, scuffs, deep marks, edge damage and signs of separation. Do not classify every visible mark as the same severity; compare each finding with the buyer’s written grading definitions.
| Surface Condition | What to Observe | Resale Review |
|---|---|---|
| No Visible Damage | No visible exception under the defined method | Continue functional tests |
| Light Surface Marks | Minor visible wear | Compare with grade definition |
| Noticeable Scratches | Clearly visible marks | Document location and severity |
| Deep Scratches | Pronounced surface marks | Regrade or review |
| Edge Chips | Damage near the perimeter | Record and assess handling |
| Cracks | Linear glass damage | Do not treat as normal inventory |
| Spidering | Multiple connected cracks | Route for exception review |
| Glass Separation | Visible lifting or gap | Hold for assessment |
| Raised Areas | Uneven surface or assembly | Record as a concern |
| Uneven Fit | Irregular display-to-frame boundary | Review available history |
- Inspect the center, corners, edges and earpiece area.
- Inspect the display-to-frame boundary.
- Compare observations with the written grade definition.
- Photograph or document material exceptions under company policy.
Test Display Brightness and Uniformity
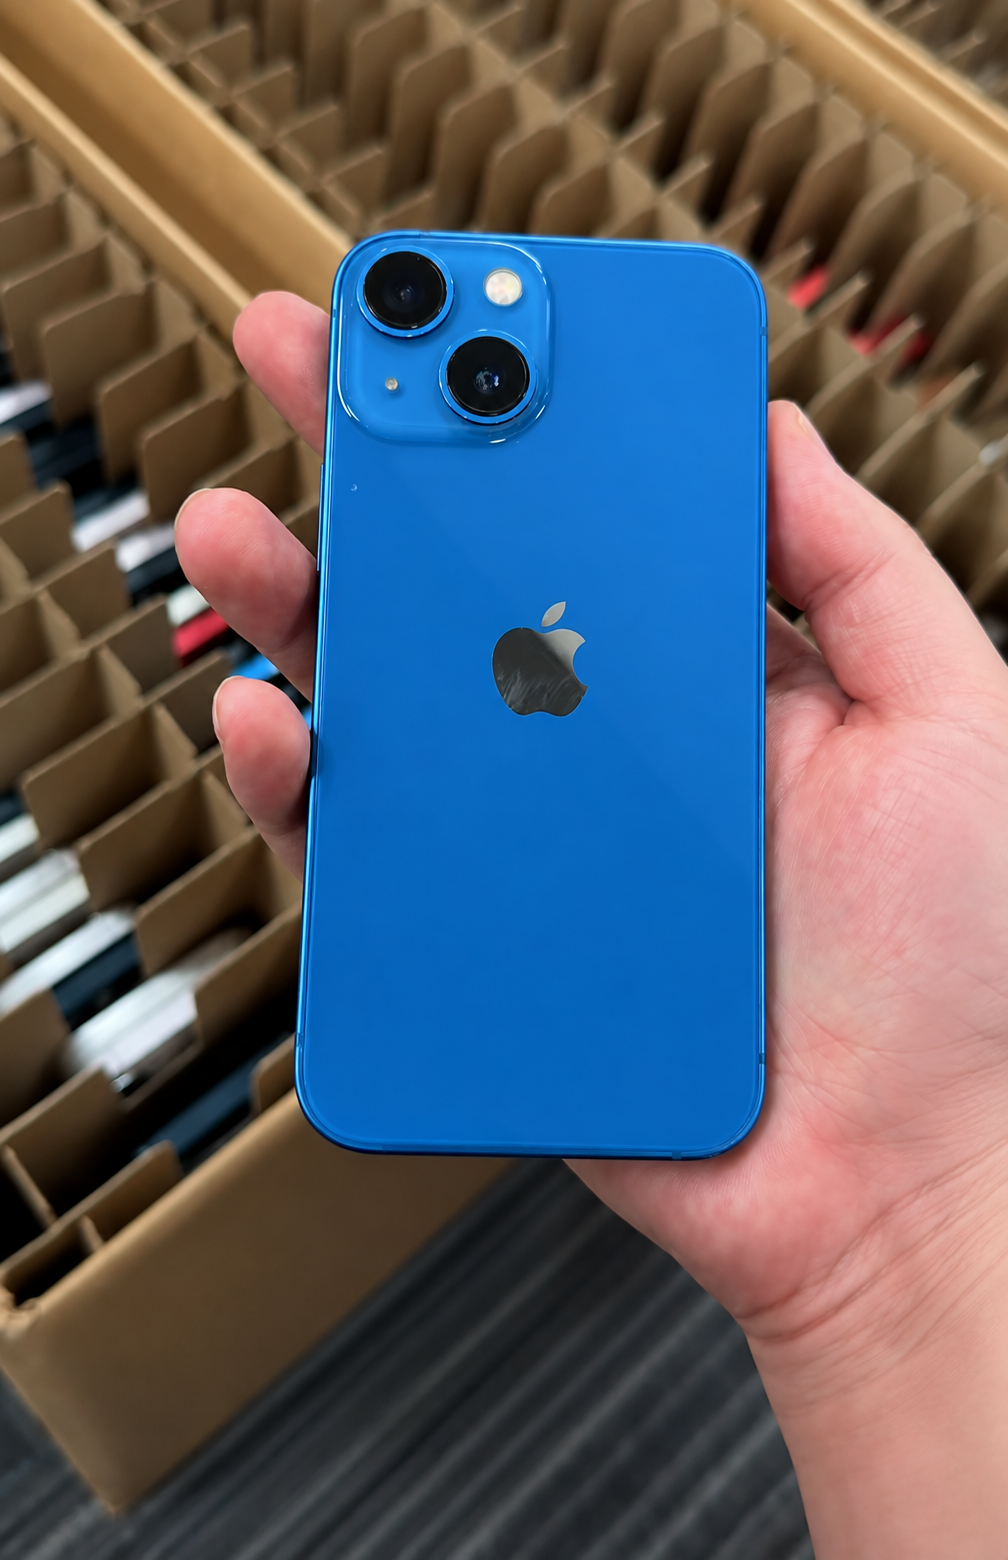
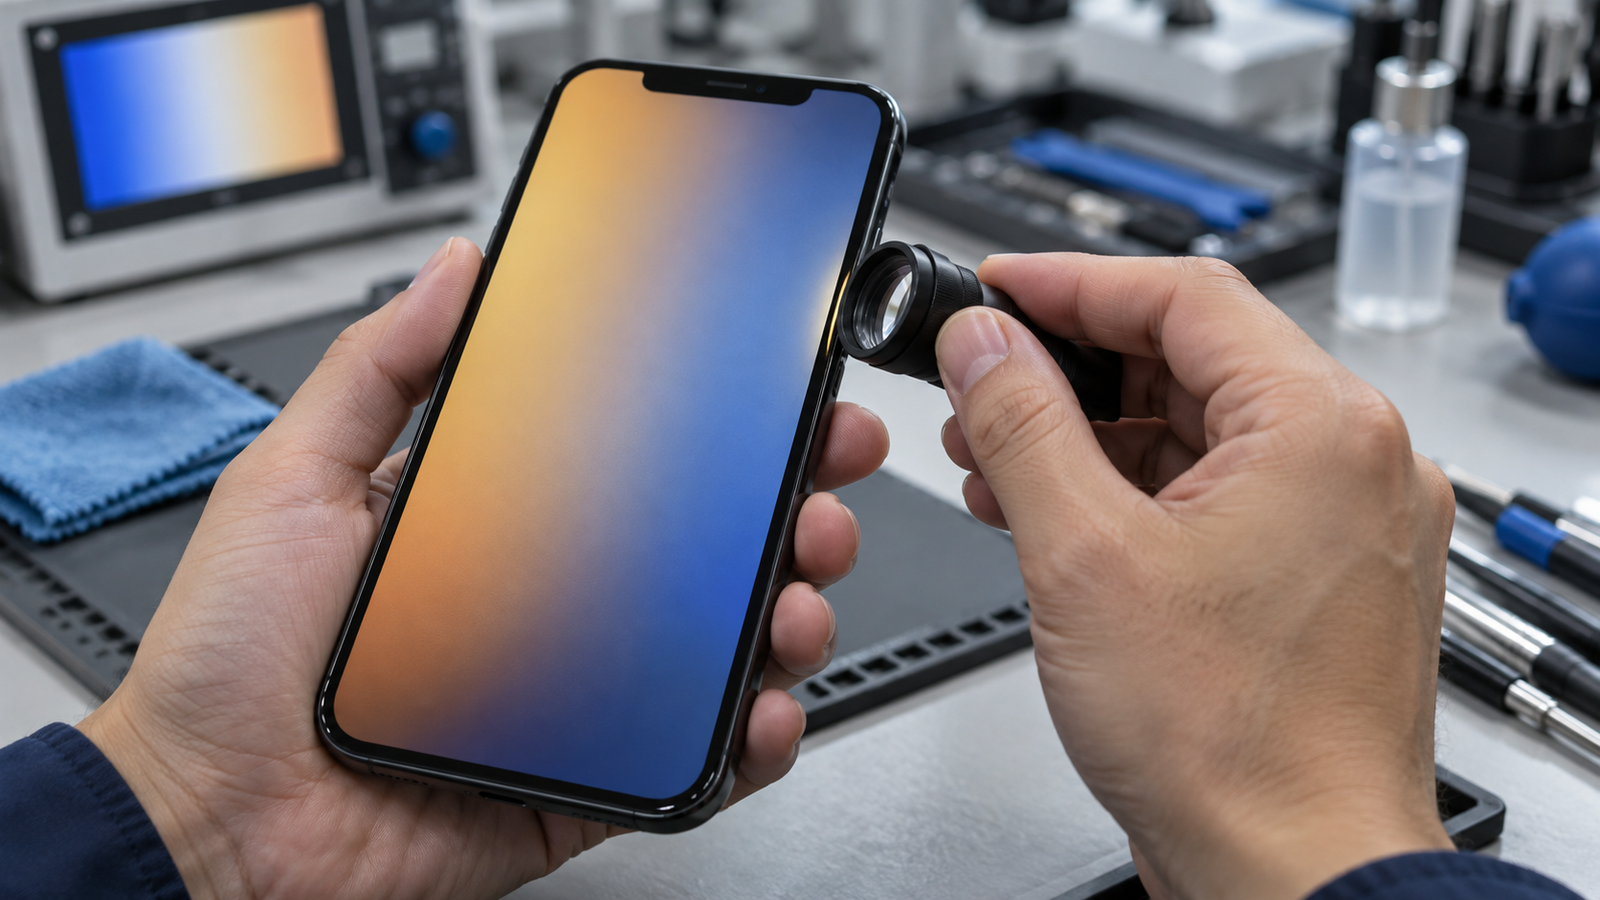
Review the display at more than one brightness level. Uneven brightness, dim zones, discolouration, visible lines, flicker or inconsistent colour can affect resale classification and repair assessment.
| Display Test | What to Look For | Record Outcome |
|---|---|---|
| Low Brightness Review | Flicker, tint or uneven areas | Observed result |
| High Brightness Review | Dim zones and inconsistent output | Observed result |
| White Background | Tint and uniformity | Observed result |
| Black Background | Bright areas and persistent marks | Observed result |
| Grey Background | Subtle uneven output | Observed result |
| Solid Colour Backgrounds | Pixel and colour anomalies | Observed result |
| Colour Uniformity | Local colour variation | Pass, exception or review |
| Bright or Dark Areas | Localised brightness difference | Record location |
| Vertical or Horizontal Lines | Persistent line defects | Record location |
| Flicker | Visible unstable output | Further review |
| Unusual Tint | Colour cast across part or all of display | Document context |
Use controlled test images or standard internal test screens. Record what is observed without guessing the technical cause.
Check for Pixels, Burn-In, and Image Retention
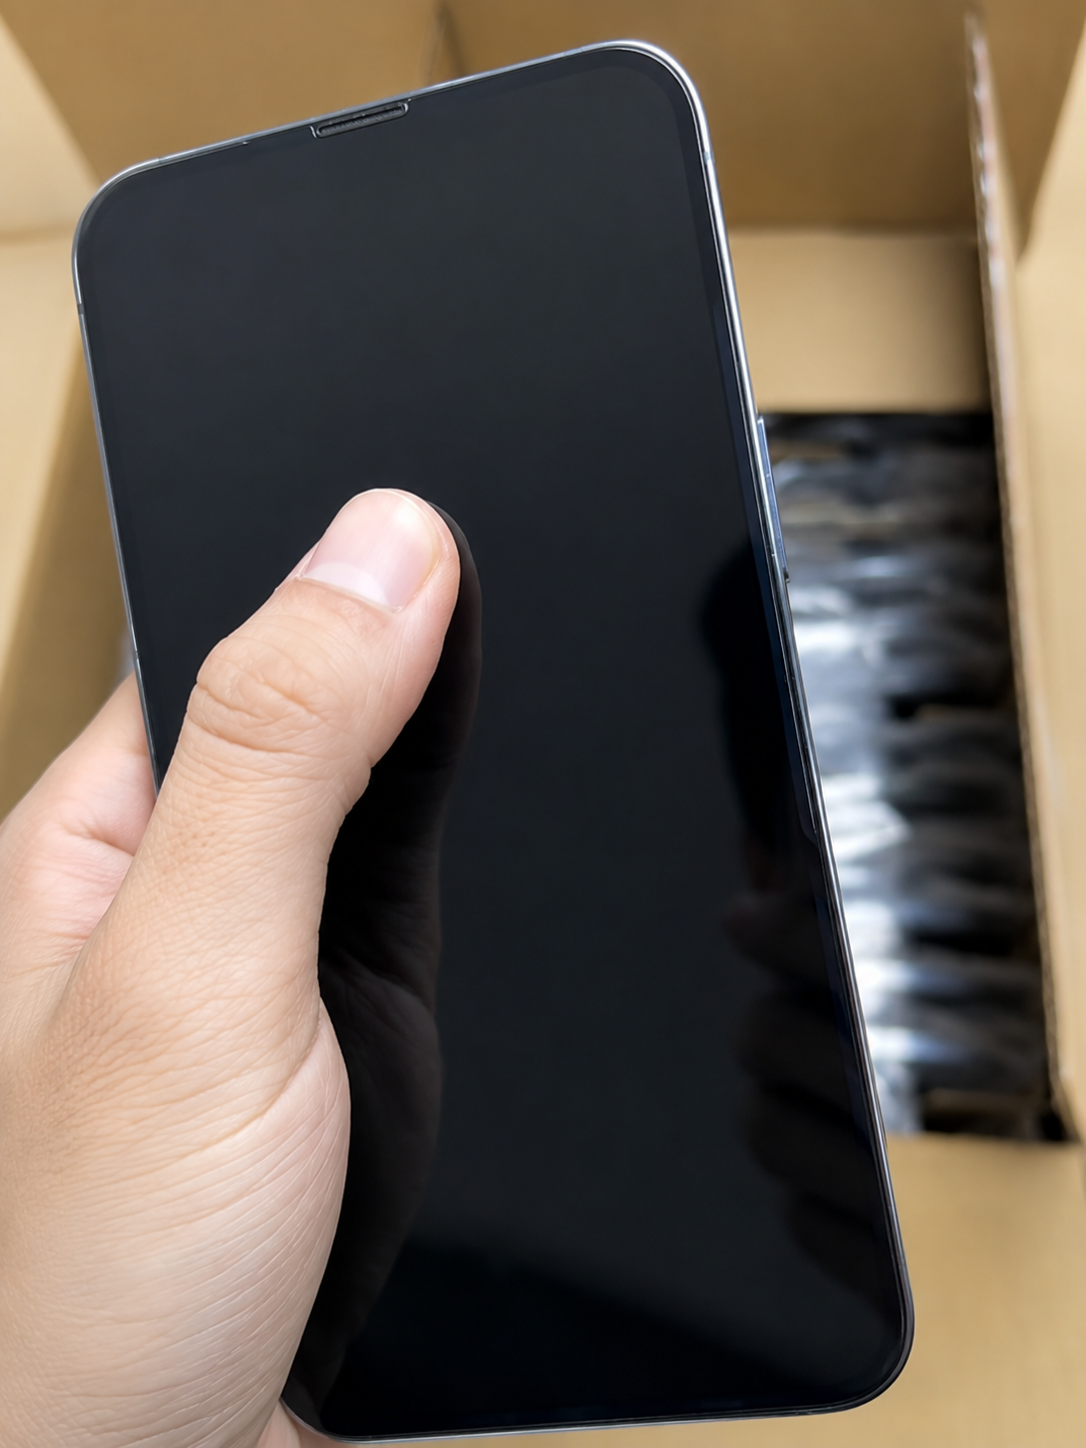
A screen may show dead pixels, stuck pixels, image retention, burn-in or persistent marks. Log each observation with the test background used and the location on the display.
| Screen Finding | Typical Observation | Inventory Action |
|---|---|---|
| Dead Pixel | Pixel remains dark | Record location and review |
| Stuck Pixel | Pixel remains one colour | Record location and review |
| Bright Spot | Local bright point or area | Document under relevant backgrounds |
| Dark Spot | Local dark point or area | Document under relevant backgrounds |
| Image Retention | Temporary residual image | Record observation and route |
| Burn-In | Persistent residual pattern | Functional exception review |
| Persistent Icon Shape | Visible repeated interface shape | Document visibility |
| Colour Patch | Local colour difference | Record location |
| Localised Discolouration | Uneven tint or colour | Further review |
| Pressure Mark | Localised visible mark | Record and assess |
- Test with solid backgrounds at normal distance and close range.
- Record location and visibility at multiple brightness levels.
- Keep cosmetic and functional notes separate.
- Route unclear cases for further review.
Test Touch Response Across the Screen
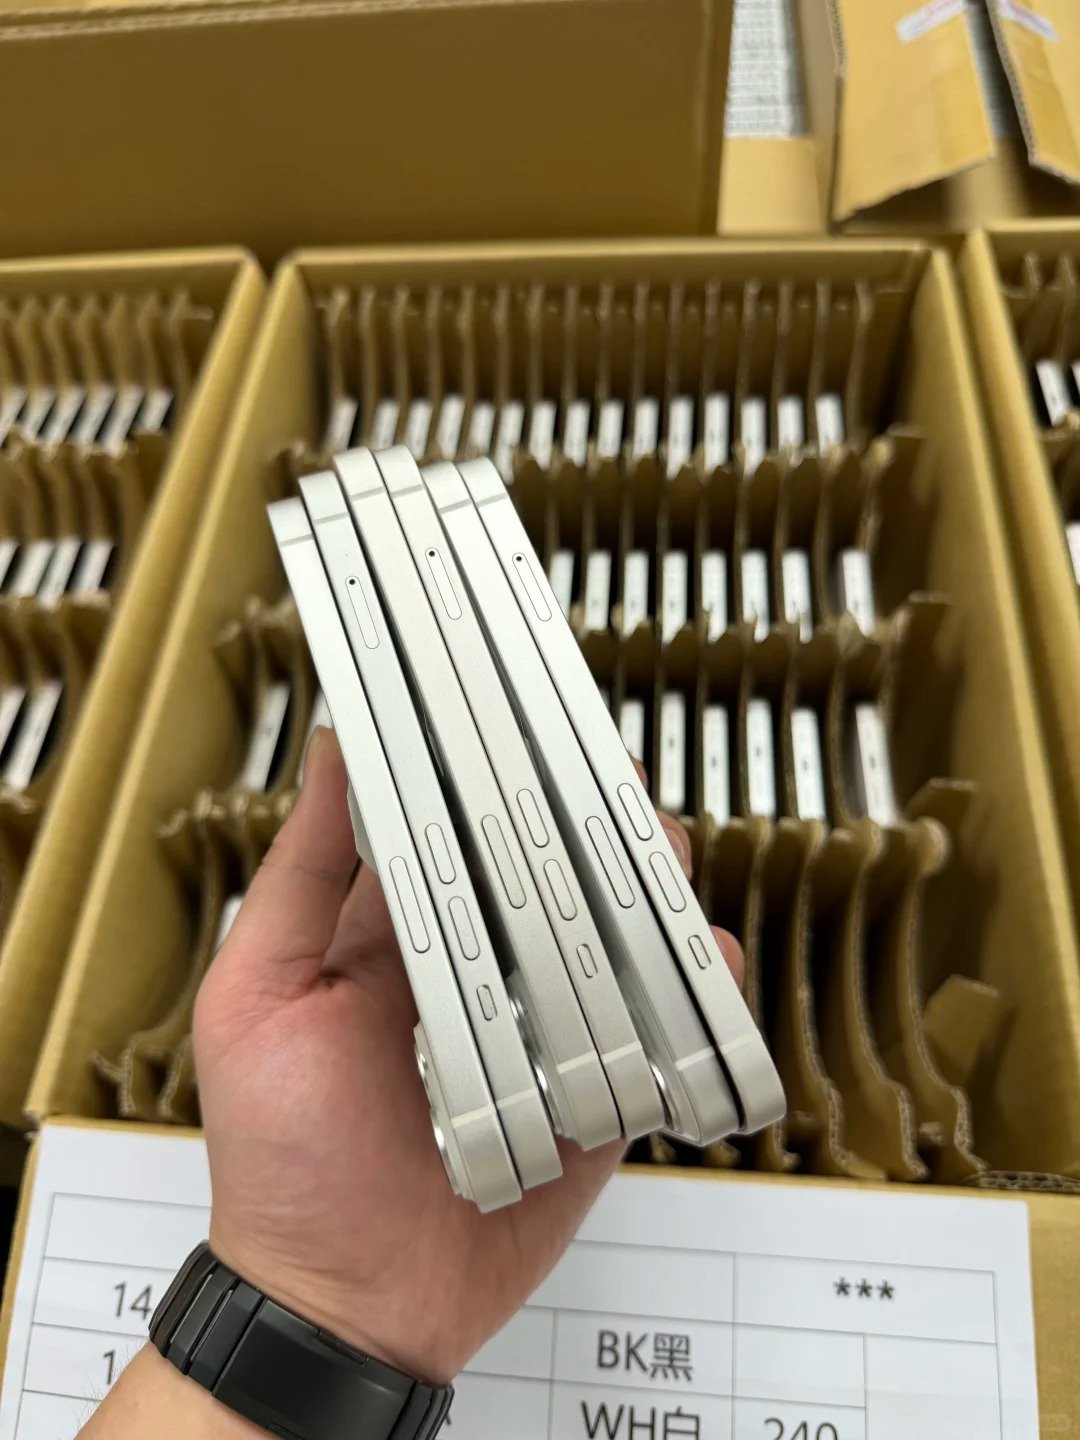
Touch testing should cover the entire active display area, not only the center. Check taps, swipes, typing and multi-touch behaviour through normal device interaction. Do not use programming, disassembly or modification steps.
| Touch Test | What to Observe | Record Outcome |
|---|---|---|
| Edge Taps | Response near each edge | Pass, fail or review |
| Corner Taps | Response in all corners | Pass, fail or review |
| Full-Screen Swipe | Continuous response | Observed result |
| Drag Across Display | Input remains continuous | Observed result |
| Keyboard Input | Keys respond across zones | Observed result |
| App Navigation | Normal taps and gestures | Observed result |
| Multi-Touch Input | Expected supported response | Observed result |
| Touch Delay | Unexpected response lag | Record exception |
| Ghost Touch | Unexpected input without intended touch | Record exception |
| Missed Touch Areas | Zones that do not respond | Record location |
Touch-test process
- Test touch in each display zone.
- Swipe from edge to edge.
- Drag an on-screen element across multiple areas.
- Test typing and normal navigation.
- Test multi-touch where appropriate.
- Record pass, fail or further-review status.
Check True Tone and Display Settings
True Tone may be available on supported models and can be reviewed as part of a broader display check. It must not be used alone to determine repair history, part origin or overall screen quality.
| Setting or Function | What It Can Support | Limitation |
|---|---|---|
| True Tone Where Available | Current display adaptation observation | Does not prove originality |
| Brightness Control | Manual brightness response | Does not explain a defect |
| Auto-Brightness Behavior | Supporting ambient-light response | Depends on settings and environment |
| Night Shift | Explains intentional warm colour | Not a screen-origin test |
| Display Colour Appearance | Visible colour behaviour | Needs controlled comparison |
| Haptic Touch | Supported interaction response | Does not replace full touch test |
| Accessibility Display Settings | Explains configured appearance | Must be recorded in context |
| Display Warning or Message | Creates a review point | Does not prove a single cause |
Review the Front Sensor Area
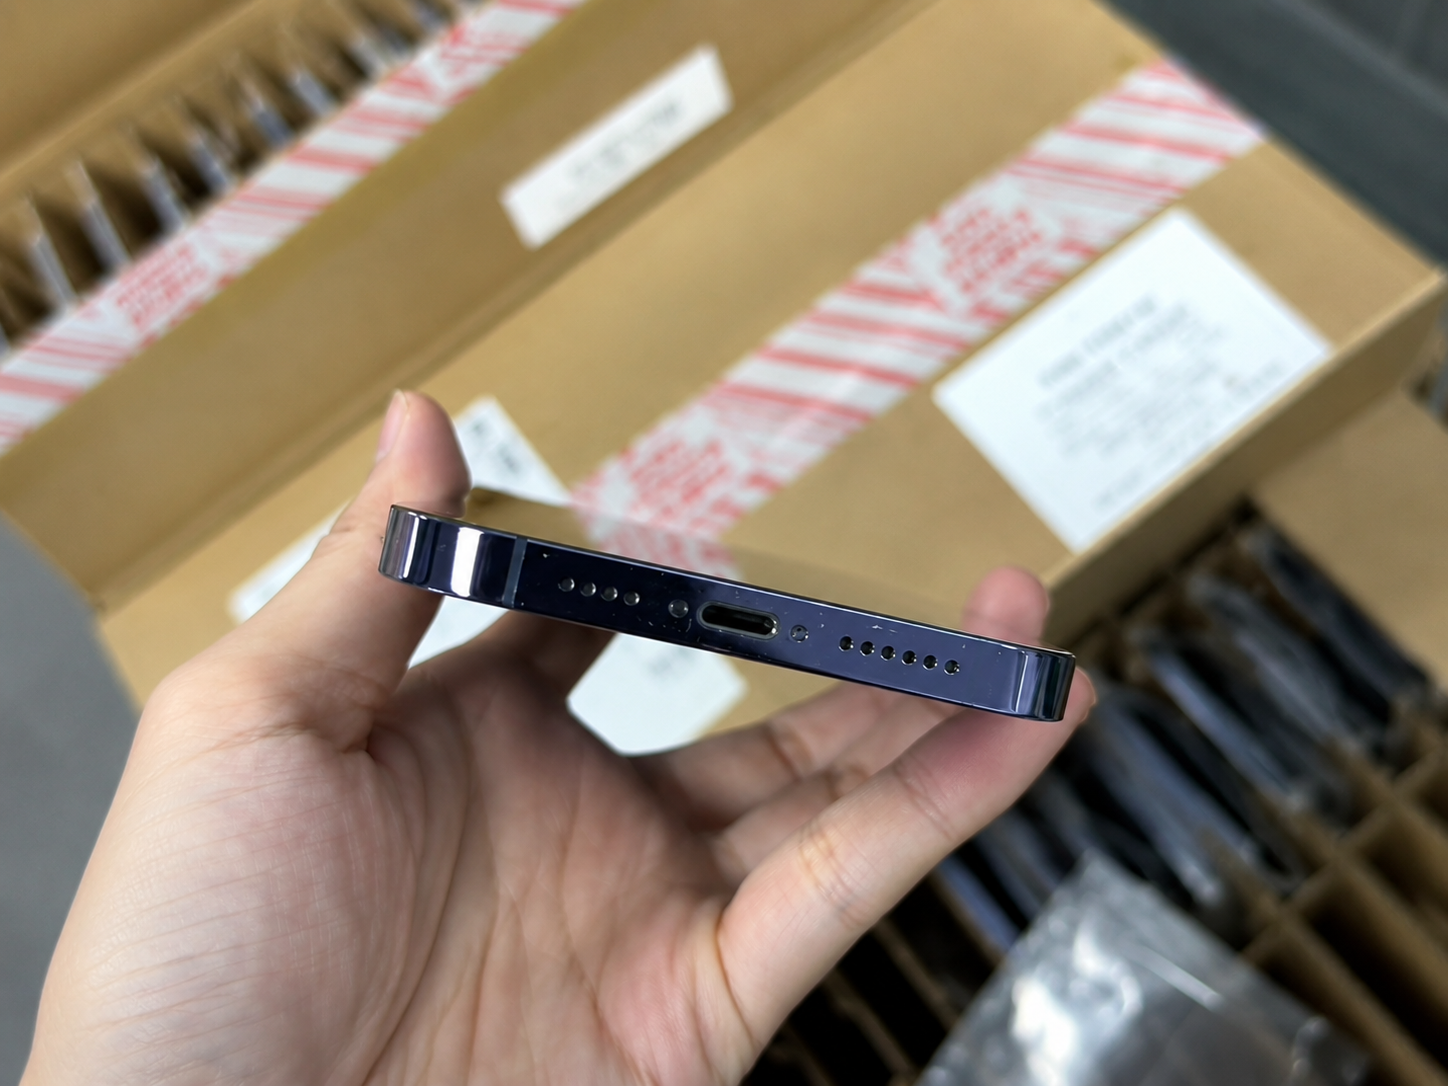
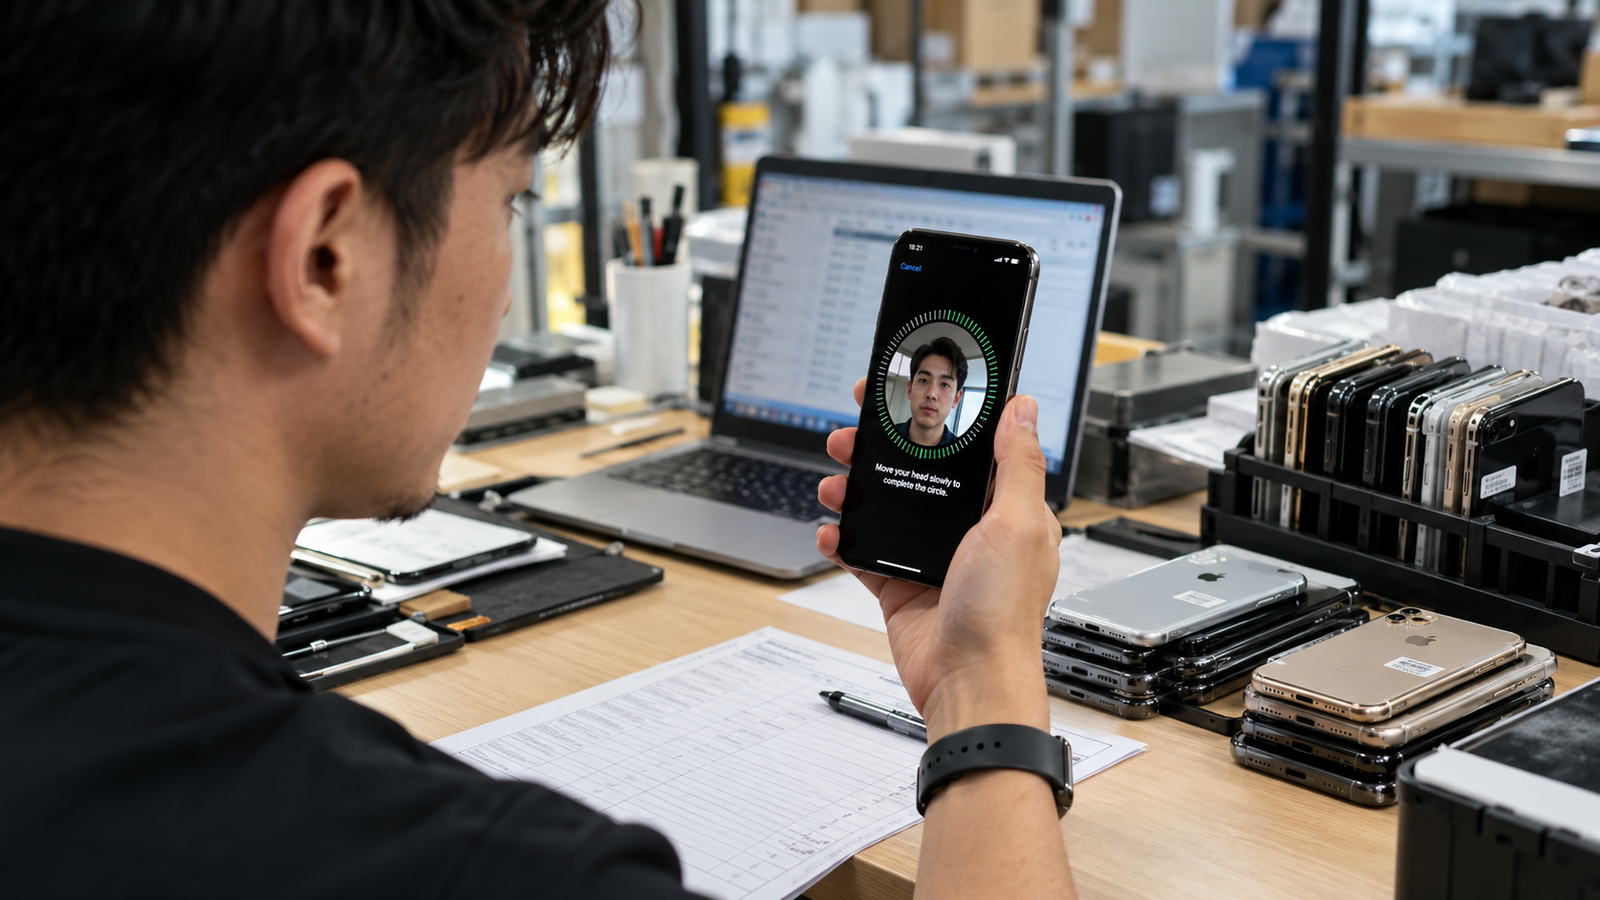
Inspect the display area near the earpiece, front camera and sensors carefully. Screen condition can be related to Face ID, proximity, ambient-light response or earpiece performance, but every function must be tested separately.
| Related Area | Why It Matters | Separate Test Required |
|---|---|---|
| Earpiece Opening | Obstruction can affect audio | Yes |
| Front Camera Area | Visible condition around camera | Yes |
| TrueDepth Camera Area | Relevant to supported Face ID models | Yes |
| Proximity Sensor Area | Supports call-screen behaviour | Yes |
| Ambient Light Sensor Area | Supports brightness response | Yes |
| Screen Alignment | Shows assembly fit | Visual and functional review |
| Face ID Where Applicable | Important biometric function | Authorized test required |
| Earpiece Audio | Confirms separate audio result | Yes |
| Display Wake and Sleep Behavior | Shows related device response | Yes |
- Inspect for obstruction or visible damage.
- Test Face ID through authorized procedures where applicable.
- Test front camera and earpiece audio separately.
- Record sensor observations without guessing causes.
- Keep exception devices out of normal resale inventory until reviewed.
Review Parts and Service History
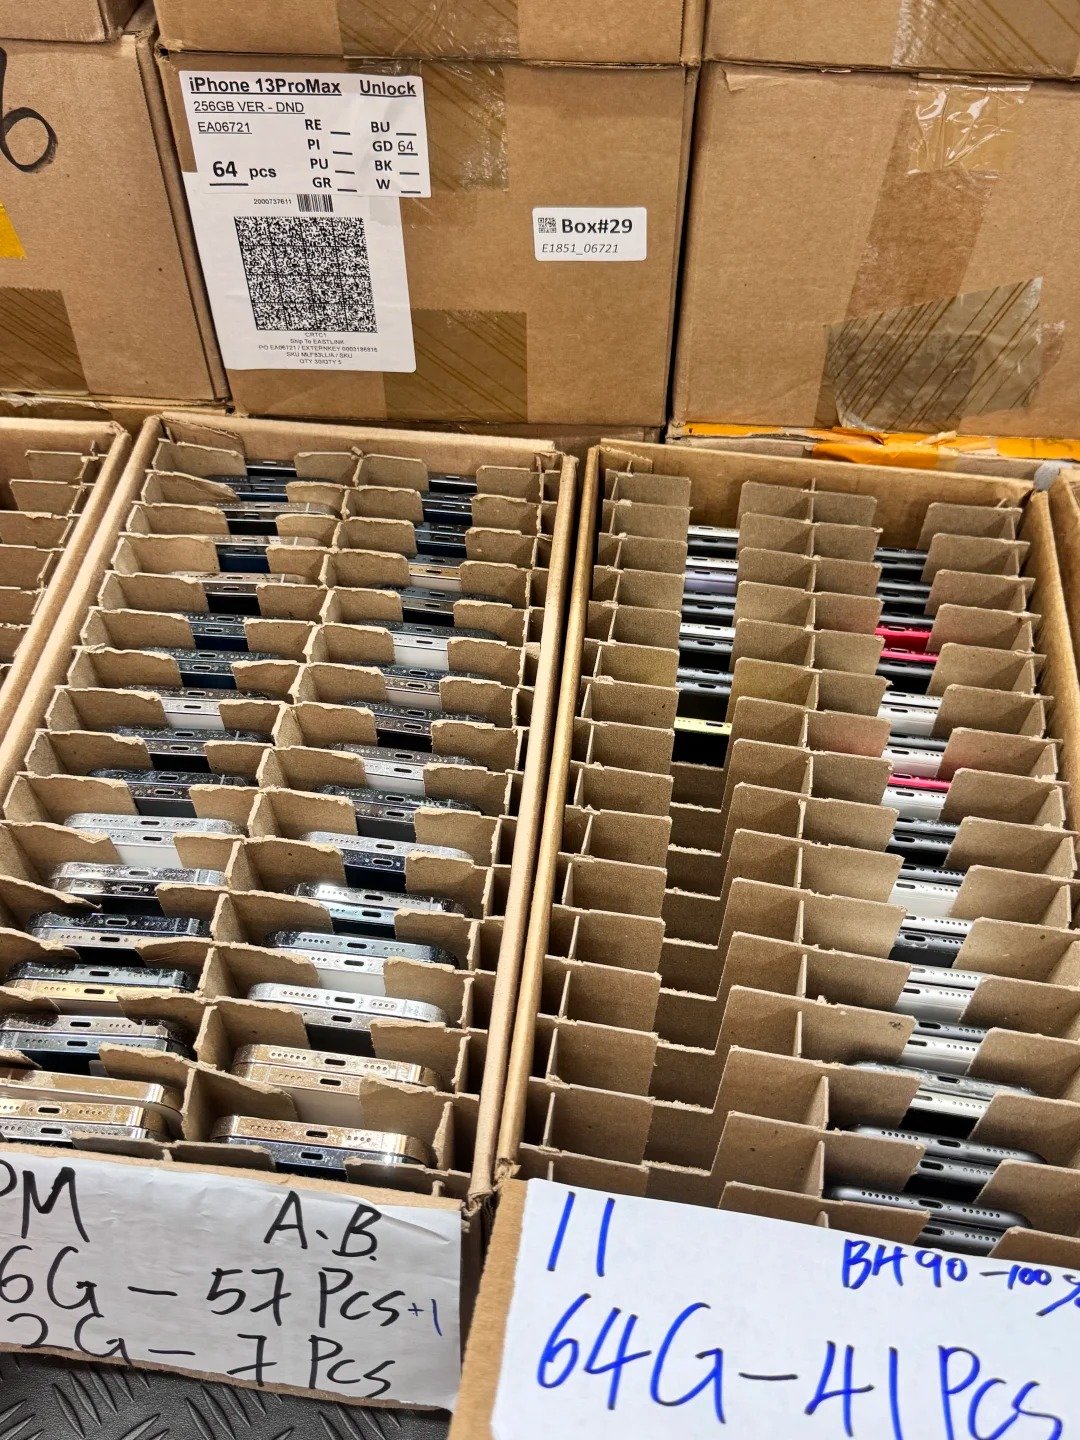
Supported iPhones may show Parts and Service History in settings. Where available, this information can help document display-related repair information, but it should be read in context and not used for unsupported conclusions.
| Review Point | Buyer Question | Documentation Needed |
|---|---|---|
| Parts and Service History Availability | Is information available on this model? | Availability record |
| Display Entry Where Shown | What does the device report? | Exact observed entry |
| Repair Completion Information | Is a follow-up message shown? | Observed message |
| Supplier Repair Disclosure | What work is documented? | Available supplier record |
| Cosmetic Inspection | What visible condition exists? | Separate grade |
| Touch Test Result | Does input work across the display? | Device-level result |
| Display Test Result | Does output meet internal criteria? | Device-level result |
| Face ID or Touch ID Result | Does the relevant function work? | Separate authorized result |
| Final Functional Status | How should the unit be routed? | Disposition record |
Record-review process
- Open available parts and service information through normal settings.
- Record what is displayed for the device.
- Compare it with available supplier records.
- Complete visual and functional tests.
- Assign resale, further review, repair assessment or exception status.
Separate Cosmetic Grade from Functional Status
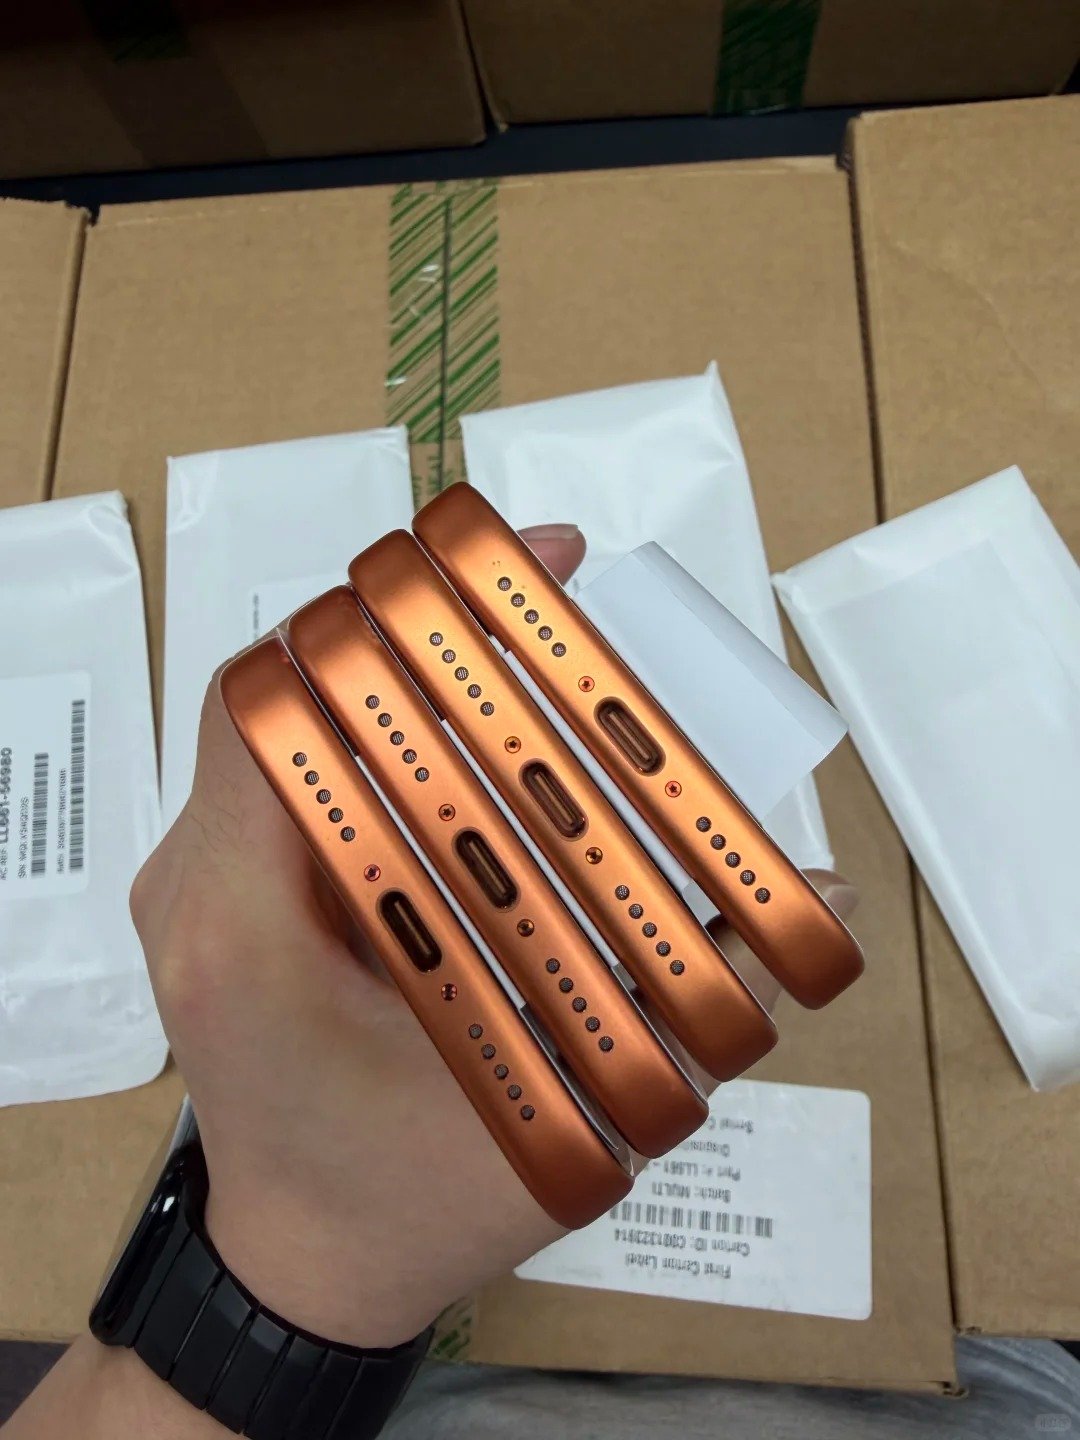
Cosmetic grading describes visible appearance. Functional status describes whether display and touch functions work as intended during inspection. A device can have cosmetic wear with functional display performance, or a clean-looking screen with functional concerns.
| Assessment Type | Example Finding | How to Record |
|---|---|---|
| Cosmetic Grade | Overall visible screen appearance | Written grade |
| Glass Scratch | Visible surface mark | Location and severity |
| Edge Chip | Damage near perimeter | Separate exception |
| Display Uniformity | Tint or brightness variation | Functional result |
| Touch Response | Missed, delayed or ghost input | Functional result |
| Pixel Condition | Dead, stuck or bright point | Location and result |
| True Tone Observation | Supporting setting status | Separate observation |
| Repair Information | Available service evidence | Repair-history field |
| Face ID or Touch ID Result | Relevant authorized function | Separate result |
| Final Inventory Status | Resale, review, repair or recovery | Disposition field |
Do not use a single grade label to hide a display or touch exception. Record function separately and describe the device accurately.
Capture Clear Evidence for Each Device
Evidence supports internal review, supplier reconciliation, regrading, repair decisions and accurate resale descriptions. Keep every item linked to the individual device record and exclude private customer data.
| Evidence Type | Best Use |
|---|---|
| Device Identifier | Links evidence to one unit |
| Inspection Date | Shows when review occurred |
| Inspector Name or ID | Creates accountability |
| Surface Condition Notes | Documents cosmetic evidence |
| Display Test Notes | Documents output observations |
| Touch Test Result | Documents functional input |
| Parts and Service Information Where Available | Preserves observed repair context |
| Exception Photo Reference | Supports internal review where permitted |
| Repair Assessment Record | Documents next-step review |
| Final Grade | Records cosmetic decision |
| Final Disposition | Records inventory route |
- Use the correct identifier and record observations promptly.
- Use clear descriptions without overstating visual evidence.
- Keep private customer data out of the record.
- Preserve evidence according to company policy.
Sort Screen Exceptions Before Resale
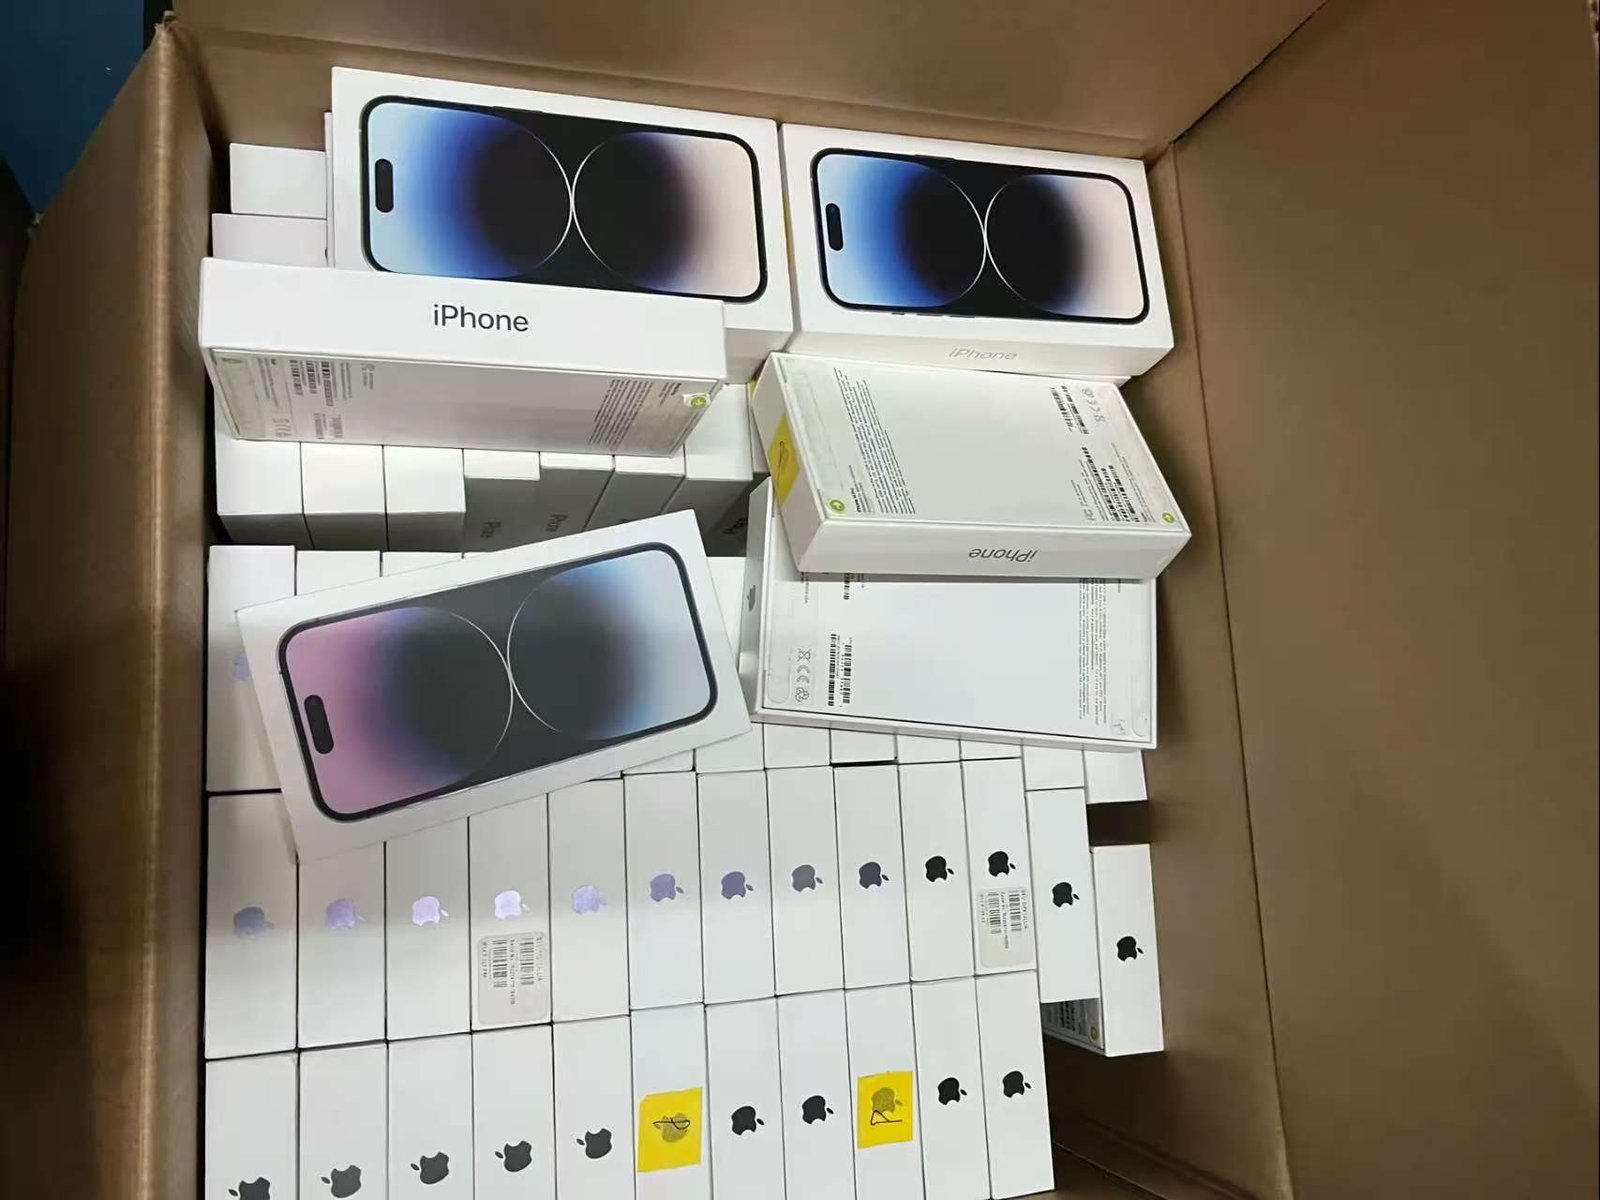
Not every device should enter the same sales channel. A screen exception may require regrading, repair assessment, customer disclosure, parts recovery or further verification.
| Screen Inspection Outcome | Inventory Status | Next Step |
|---|---|---|
| Clean and Functional | Ready for next QC stage | Complete device review |
| Cosmetic Wear Only | Grade-specific inventory | Use accurate grade |
| Touch Concern | Functional exception | Further review |
| Display Uniformity Concern | Display exception | Document and assess |
| Pixel or Line Concern | Display exception | Record location and route |
| Cracked Glass | Non-standard inventory | Regrade or repair assessment |
| Repair History Requires Review | Verification | Compare records and results |
| Related Function Concern | Functional exception | Test separately |
| Repair Assessment Required | Repair review | Use qualified assessment |
| Parts or Recovery Review | Recovery route | Follow internal process |
Do not label a full batch as screen-tested if unresolved individual exceptions remain. Assign a documented device-level status to every unit.
Include Screen Condition in Pricing and Resale Decisions
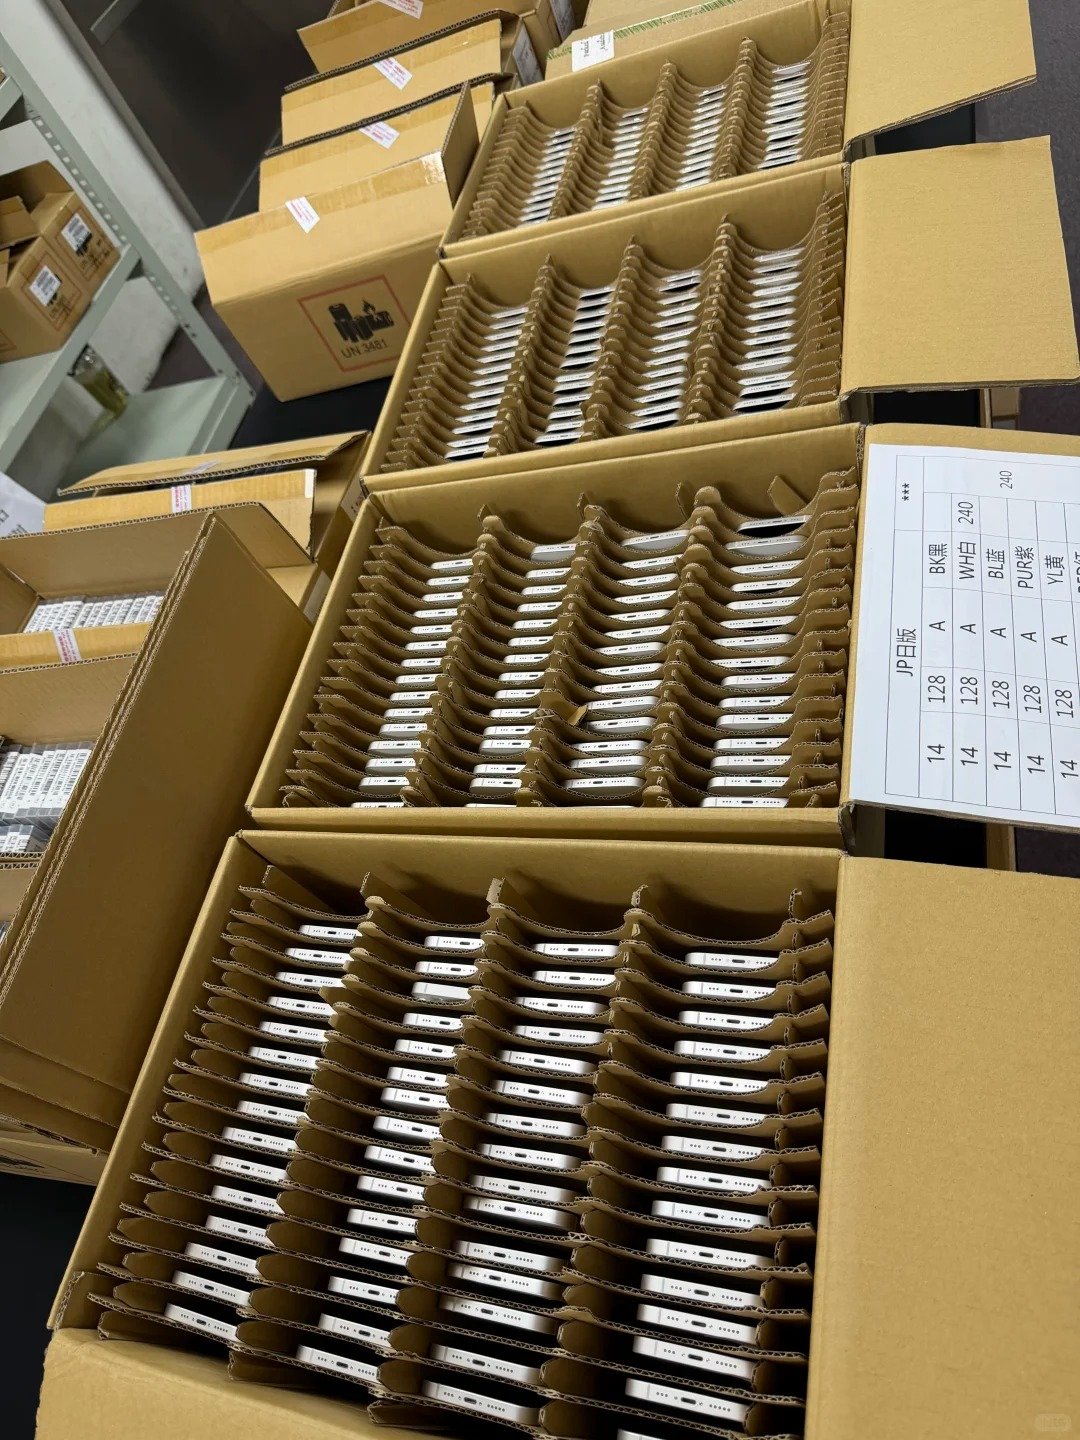
Screen condition can affect fully loaded cost, buyer confidence, repair planning, customer disclosure and channel suitability. Do not promise that a repair will restore a specific value or function.
| Decision Factor | Why It Matters |
|---|---|
| Cosmetic Screen Grade | Supports visible-condition description |
| Display Test Result | Documents current output |
| Touch Test Result | Documents current input response |
| Related Function Results | Provide wider device context |
| Parts and Service Information | Adds available repair context |
| Repair Assessment | Supports next-step planning |
| Intended Sales Channel | May define condition requirements |
| Customer Disclosure | Should match verified records |
| Return or Claim Exposure | Can affect internal planning |
| Fully Loaded Cost | Supports commercial review |
Repair feasibility, part handling, customer disclosure, channel standards, local consumer rules and cost treatment vary by device, business and location. Use verified records and qualified professionals where needed.
Build a Repeatable Screen Inspection Workflow
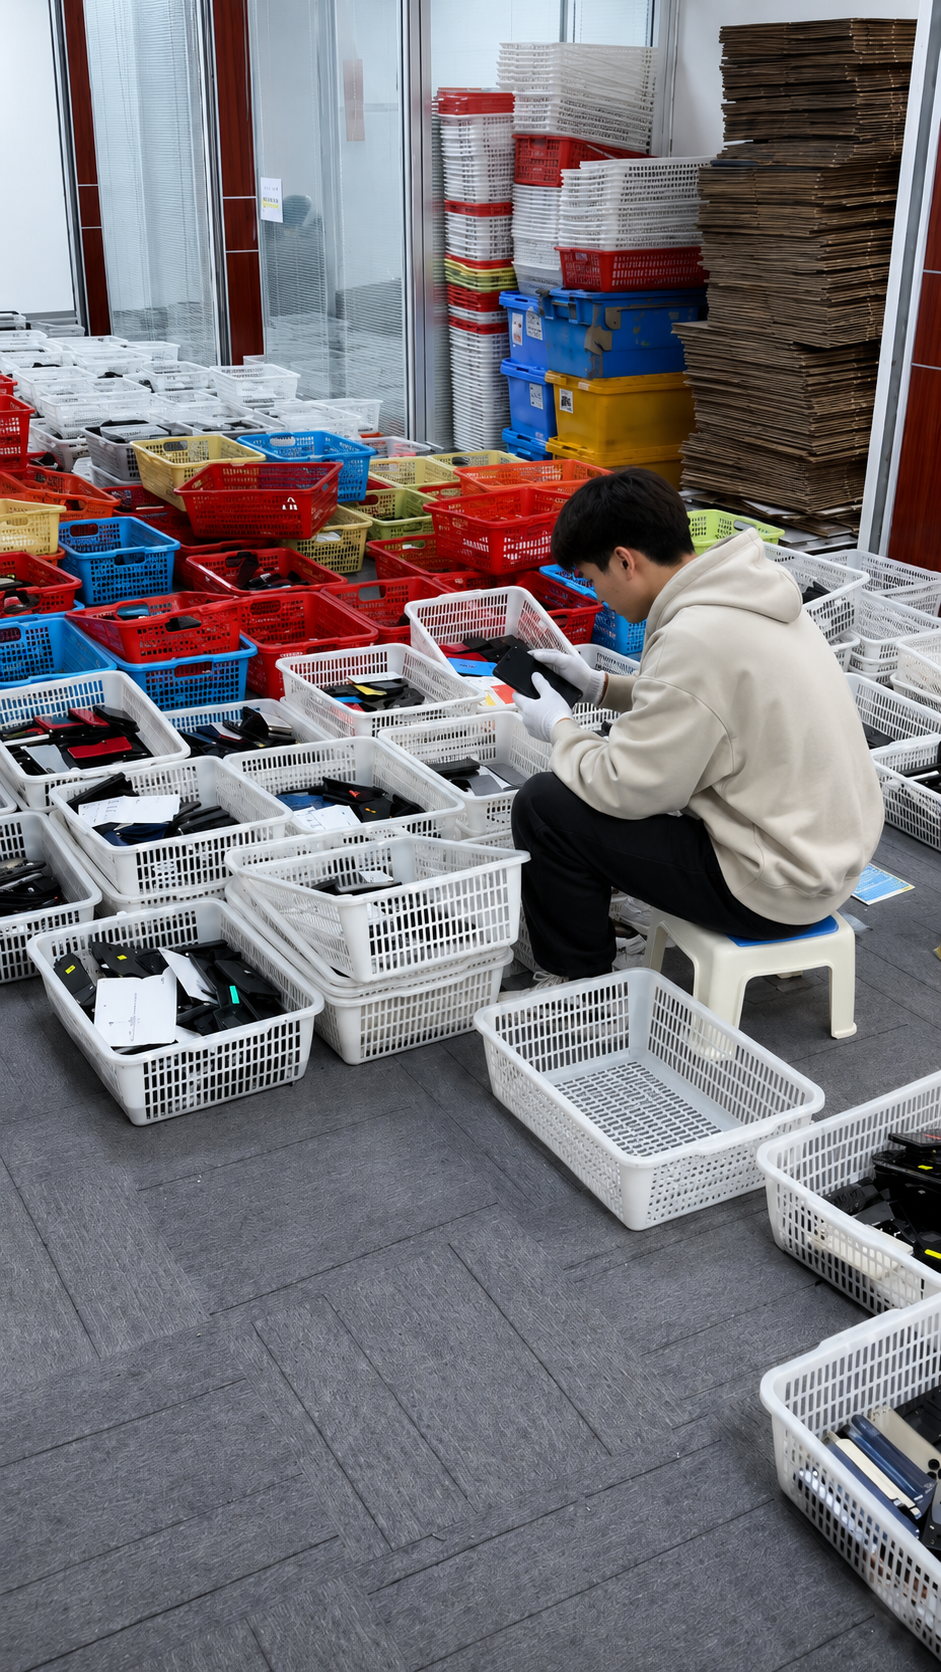
A consistent workflow reduces missed screen defects and creates more reliable records across larger inventory volumes. It also makes regrading and exception review easier to audit.
Receiving-to-release workflow
- Receive and identify the device.
- Confirm model and power-on status.
- Inspect glass, corners and frame fit.
- Test display at different brightness levels.
- Use standard solid-colour test screens.
- Test touch across the display.
- Review display settings and available service information.
- Test related front-device functions.
- Record all observations by device.
- Assign resale, review, repair or recovery status.
- Complete final QC before listing or shipment.
| Stage | Evidence Required | Internal Role |
|---|---|---|
| Receiving | Count and lot record | Receiving team |
| Identification | Identifier matched to manifest | Receiving or QC team |
| Visual Screen Review | Surface and fit notes | QC team |
| Display Test | Brightness, colour and pixel results | QC team |
| Touch Test | Full-screen input result | QC team |
| Repair-History Review | Available service information | QC reviewer |
| Related Function Check | Separate front-device results | QC team |
| Inventory Sorting | Documented status | Inventory team |
| Final Release | Complete approved record | Release approver |
Repair disclosure, device condition descriptions and channel requirements vary by buyer, market and destination. Confirm the applicable requirements before release.